Getting Started
Quick Start
Section titled “Quick Start”This page walks you through the minimal code needed to display a 3D globe with Navara. By the end, you will have a working globe with satellite imagery and a photorealistic sky and atmosphere.
Prerequisites
Section titled “Prerequisites”You need Node.js and a package manager such as npm, yarn, or pnpm installed on your machine.
Project Setup
Section titled “Project Setup”Any bundler setup works with Navara. This guide uses a Vite TypeScript project. Scaffold one with the vanilla-ts template (see Scaffolding Your First Vite Project for details):
npm create vite@latest my-navara-app -- --template vanilla-tsyarn create vite my-navara-app --template vanilla-tspnpm create vite my-navara-app --template vanilla-tsNavara creates a canvas that fills the viewport by default. To display the globe full screen, remove the browser’s default page margin by styling the <body> in index.html:
<body style="margin: 0; width: 100%; height: 100%; overflow: hidden;"> <!-- ... --></body>Install the Packages
Section titled “Install the Packages”Navara is published on npm under the @navaramap scope. In your project, install the Three.js renderer @navaramap/three, the default plugin @navaramap/three-default-plugin, and the peer dependencies three and postprocessing:
npm install @navaramap/three @navaramap/three-default-plugin three postprocessingyarn add @navaramap/three @navaramap/three-default-plugin three postprocessingpnpm add @navaramap/three @navaramap/three-default-plugin three postprocessingMinimal Example
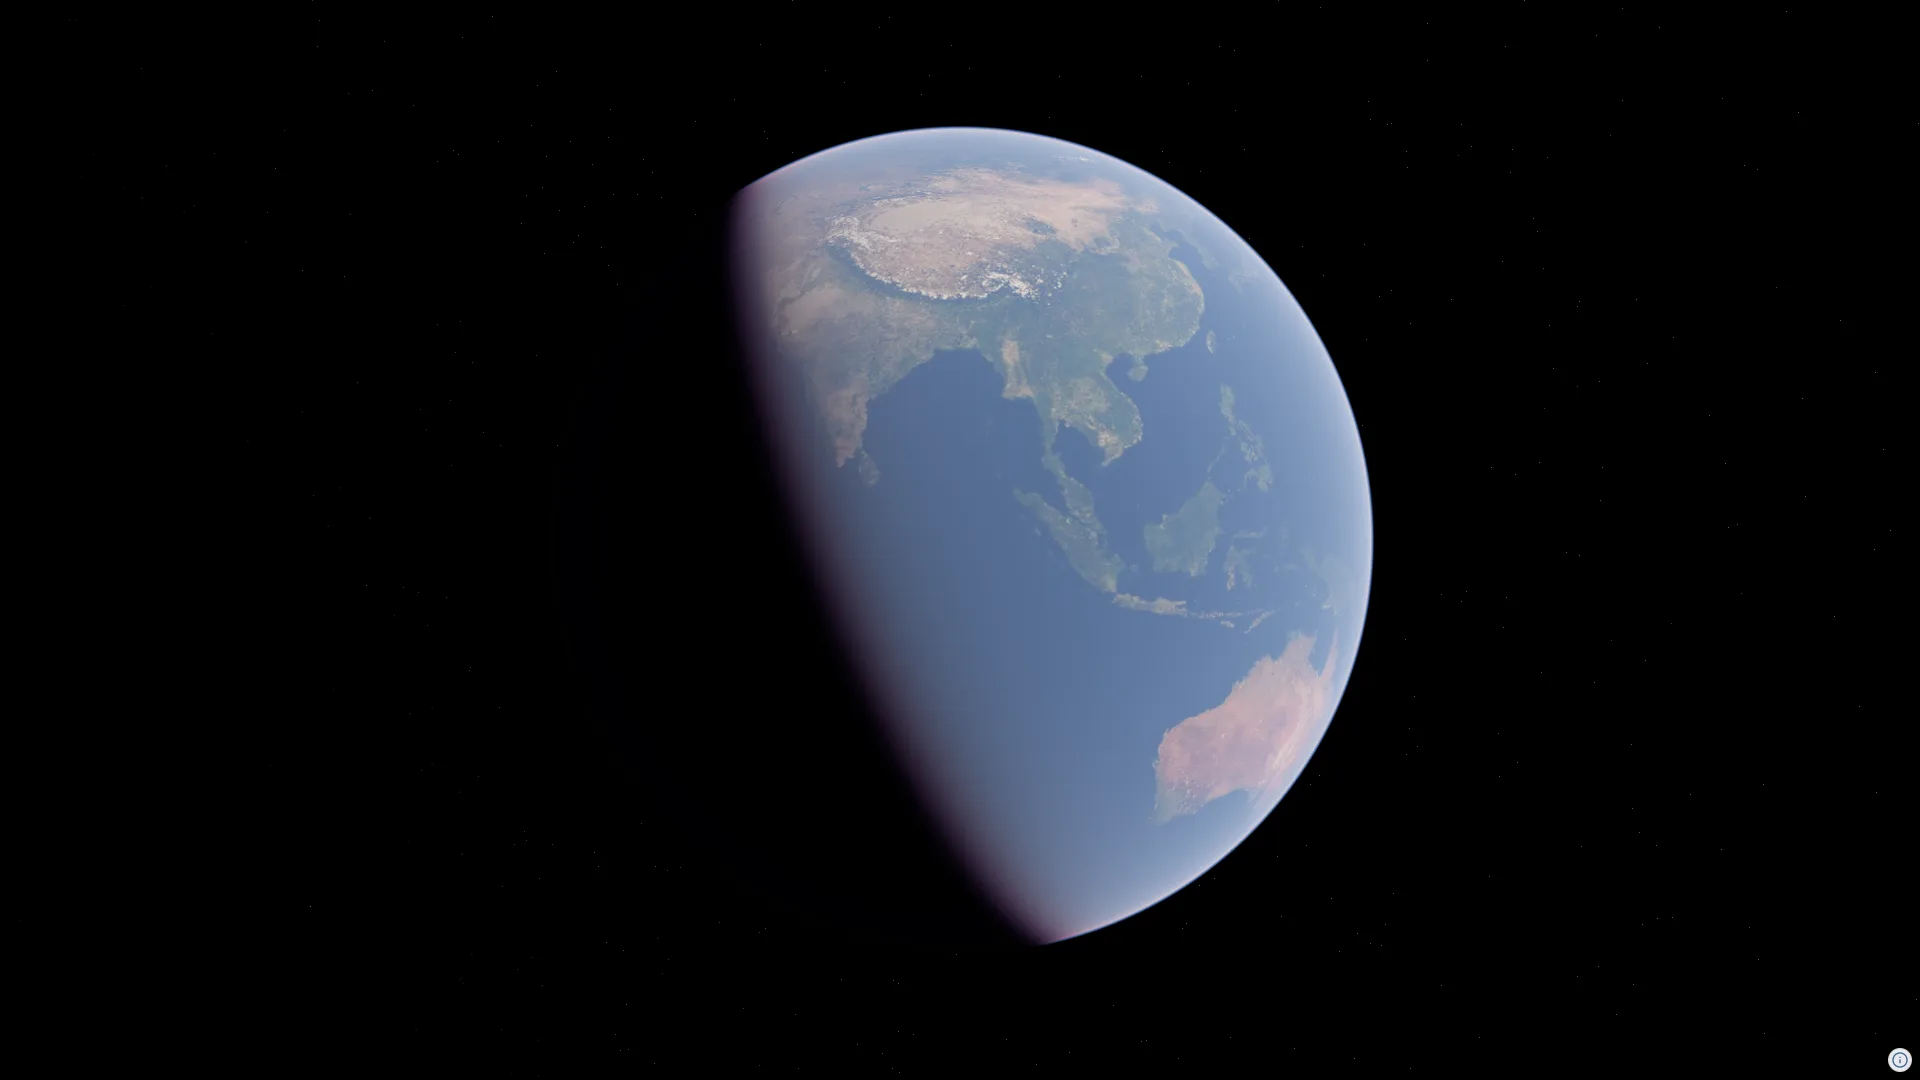
Section titled “Minimal Example”Here is the core code, the same example shown in What is Navara?. It creates a 3D globe, displays satellite imagery, and enables the photorealistic sky and atmosphere. Replace the contents of your project’s entry point (src/main.ts in the Vite project above) with this code and start the dev server:
import ThreeView from "@navaramap/three";import { DefaultPlugin } from "@navaramap/three-default-plugin";
const view = new ThreeView({ useNormal: true });
const defaultPlugin = new DefaultPlugin();view.addPlugin(defaultPlugin);
// Initialization
await view.init();
// Setup scenedefaultPlugin.addDefaultPhotorealScene();view.atmosphere.date = new Date("2026-07-16T01:00:00Z");view.toneMappingExposure = 10;
// Layer declaration
const raster = view.addSource({  type: "raster-tile",  url: "https://gibs.earthdata.nasa.gov/wmts/epsg3857/best/BlueMarble_NextGeneration/default/GoogleMapsCompatible_Level8/{z}/{y}/{x}.jpeg",  maxZoom: 8,});
view.addLayer({  type: "raster",  source: raster,  raster: {},});
// Attribution
view.attribution?.add([{ attributionHtml: `Imagery courtesy of <a href="https://earthdata.nasa.gov/gibs">NASA EOSDIS GIBS</a> · Blue Marble: Next Generation (public domain)` }]);
What This Code Does
Section titled “What This Code Does”The ThreeView class is the main entry point for Navara. Creating an instance sets up the Three.js renderer, scene graph, and rendering pipeline. The useNormal: true option enables surface normals on the globe, which the sunlight added later uses for lighting calculations. It is needed when the scene has no terrain or hillshade layer, because those layers provide normals themselves.
Before calling init(), you register plugins. The DefaultPlugin registers all the built-in Descriptor types, including sky, atmosphere, lighting, terrain, and post-processing effects, so they are available for use after initialization. You can also create and register your own plugins for custom Descriptor types.
The init() call initializes the WASM GIS engine, sets up Web Workers for background processing, and prepares the rendering pipeline. This is an asynchronous operation that must complete before you add layers.
After initialization, addDefaultPhotorealScene() adds the sky, stars, sunlight, and atmospheric effects in one call. Setting view.atmosphere.date determines the sun’s position. Use a UTC string ("...Z") so the scene looks the same on every machine. toneMappingExposure adjusts the overall brightness of the tone-mapped output.
addSource() registers where and how data is fetched, and addLayer() renders it on the globe. In this example, a raster tile source loads NASA’s Blue Marble satellite imagery. Navara’s GIS engine handles tile management, level-of-detail, and spatial indexing automatically.
Finally, view.attribution is the built-in attribution UI. add() displays credits for the data sources you use.
This example keeps the default camera, which shows the whole globe. To move somewhere specific, use setCamera() for an instant jump or flyTo() for an animated transition.
Building with AI Coding Agents
Section titled “Building with AI Coding Agents”If you develop with an AI coding agent such as Claude Code, the Navara repository provides the navara-usage skill, a concise guide to best practices for @navaramap/three. It covers the setup order, common API mistakes, and working scene examples. Copy it into your project’s skills directory (or point your agent at it) so the generated code follows correct API usage.
Next Steps
Section titled “Next Steps”This example only scratches the surface. To learn how to add terrain elevation, display GeoJSON data, and compose multiple layers, continue with the Basic Visualization Tutorial.