Basic Visualization
セットアップ
Section titled “セットアップ”このチュートリアルは、Getting Started で作成したプロジェクトを前提としています。まずそちらの手順に従って、Vite の TypeScript プロジェクトの作成、<body> のスタイル設定、Navara のパッケージと peer dependencies のインストールを済ませてください。
このチュートリアルではさらに @navaramap/three-plugins の TileJsonPlugin を使うため、このパッケージも追加でインストールします:
npm install @navaramap/three-pluginsyarn add @navaramap/three-pluginspnpm add @navaramap/three-plugins地図を表示する
Section titled “地図を表示する”ラスタレイヤーを追加する
Section titled “ラスタレイヤーを追加する”src/main.ts の内容を以下のコードに置き換えます。
import ThreeView from "@navaramap/three";import { DefaultPlugin, type DefaultDescriptions } from "@navaramap/three-default-plugin";import { TileJsonPlugin } from "@navaramap/three-plugins";
const plugin = new DefaultPlugin();const view = new ThreeView<DefaultDescriptions>({});view.addPlugin(plugin);
const tilejson = new TileJsonPlugin();view.addPlugin(tilejson);
await view.init();
view.init() で 3D シーンとカメラが構築されます。プラグインはこの呼び出しの前でしか登録できず、後から addPlugin() を呼ぶと例外になります。DefaultPlugin を登録しておくことで、次のステップで使う ambient などの組み込み Descriptor が有効になります。
main.ts に以下のコードを追加します。
view.addLight({  ambient: {},});
const basemapSource = await tilejson.addSource({  type: "raster-tile",  url: "https://papers.reearth.land/styles/protomaps-light/tilejson.json",});view.addLayer({  type: "raster",  source: basemapSource,});
ラスタのベースマップは環境光だけで十分です。ベースマップは Re:Earth Papers の TileJSON から取得し、TileJsonPlugin.addSource() がタイル URL テンプレート・ズーム範囲・attribution をそこから導出します。詳細は TileJsonPlugin を参照してください。
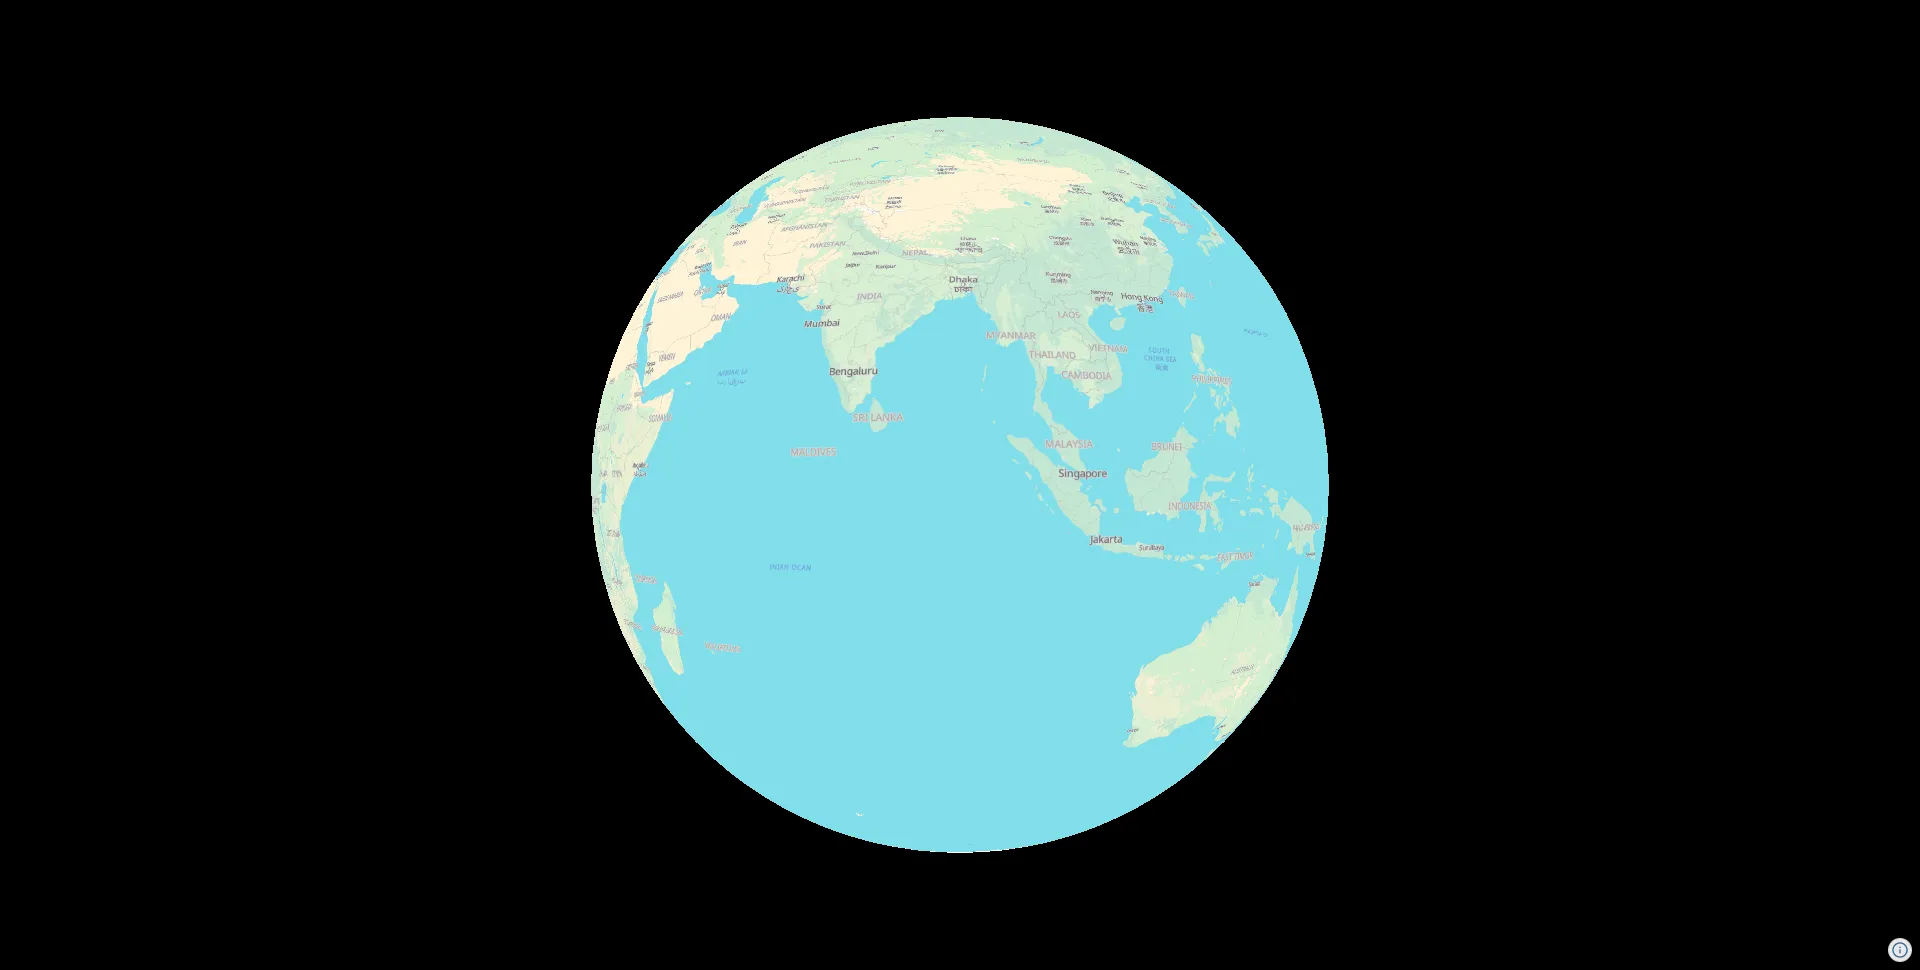
シーン上の地球儀に背景地図が表示されます。
完全なコード
Section titled “完全なコード”import ThreeView from "@navaramap/three";import { DefaultPlugin, type DefaultDescriptions } from "@navaramap/three-default-plugin";import { TileJsonPlugin } from "@navaramap/three-plugins";
const plugin = new DefaultPlugin();const view = new ThreeView<DefaultDescriptions>({});view.addPlugin(plugin);
const tilejson = new TileJsonPlugin();view.addPlugin(tilejson);
await view.init();
view.addLight({ ambient: {},});
const basemapSource = await tilejson.addSource({ type: "raster-tile", url: "https://papers.reearth.land/styles/protomaps-light/tilejson.json",});view.addLayer({ type: "raster", source: basemapSource,});カメラ位置を設定する
Section titled “カメラ位置を設定する”特定の場所に地図を表示するには、カメラの位置を設定します。main.ts に以下を追加します:
view.setCamera({ lng: 139.7671, lat: 35.6812, height: 1000, heading: 0, // -180 to 180 pitch: -30, // -180 to 0 roll: 0, // -180 to 180});パラメータの詳細は ThreeView Functions を参照してください。
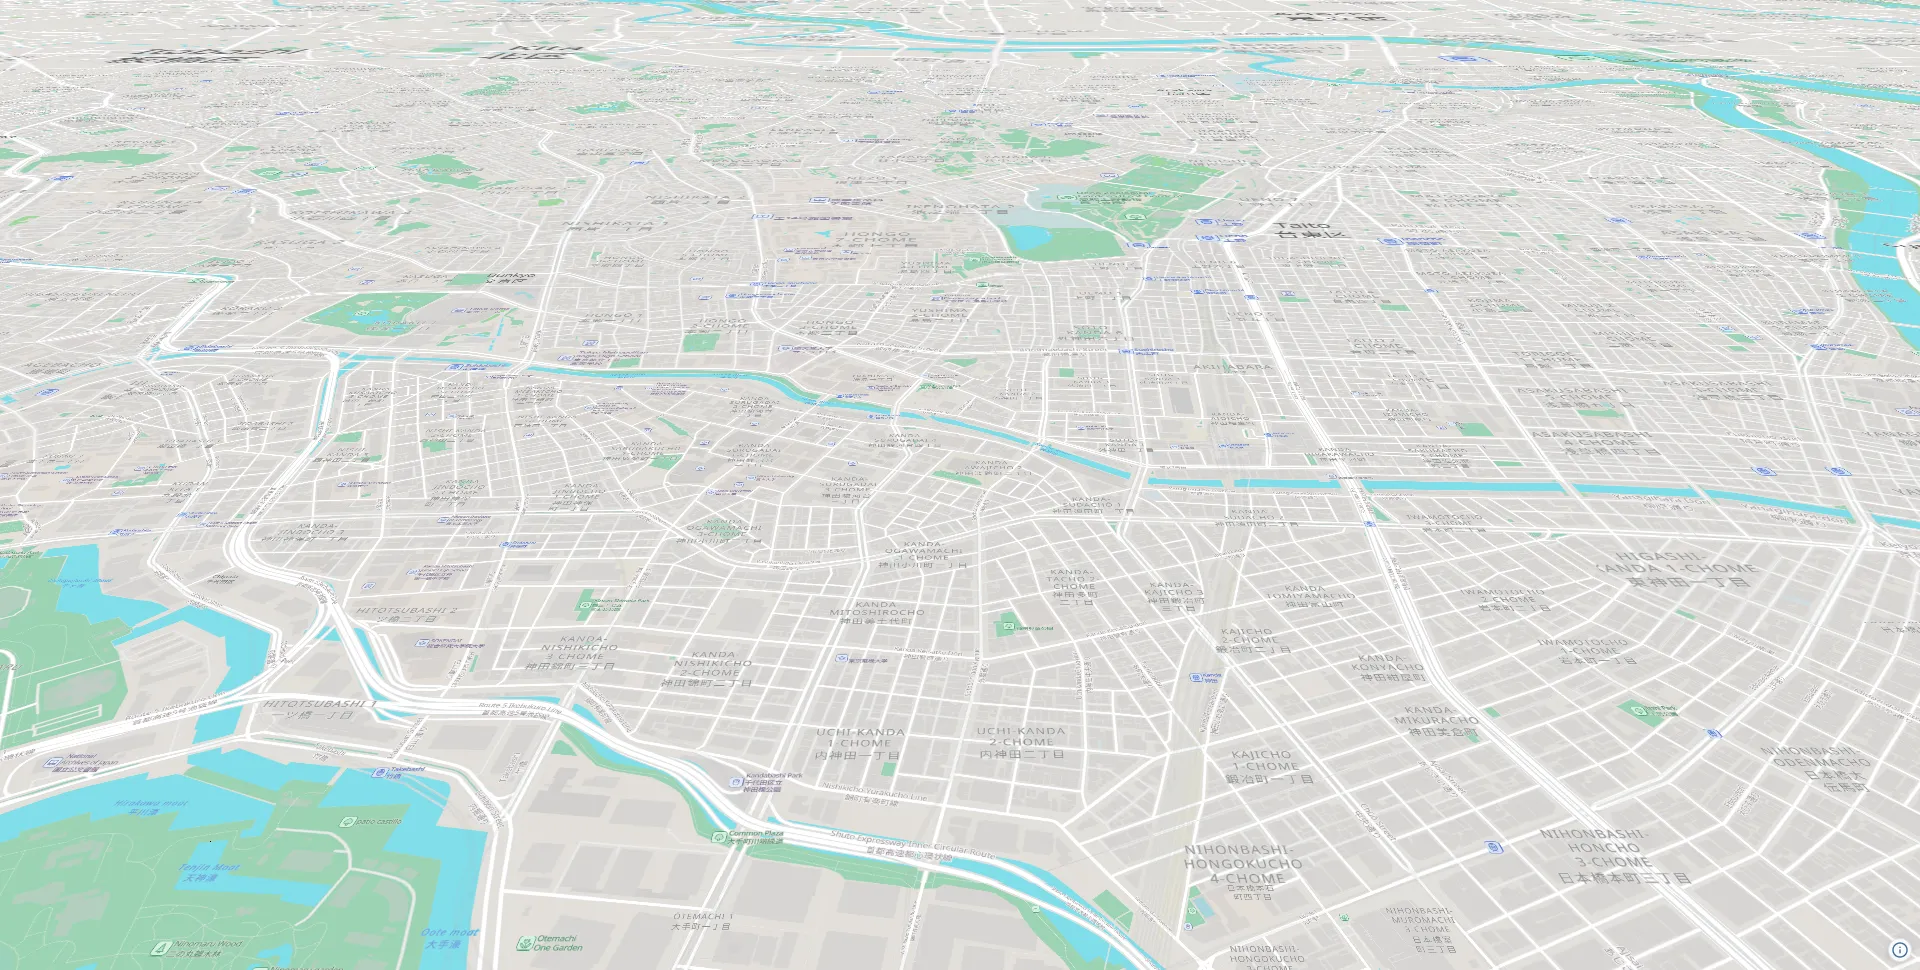
東京周辺にカメラの位置が設定されます。
完全なコード
Section titled “完全なコード”import ThreeView from "@navaramap/three";import { DefaultPlugin, type DefaultDescriptions } from "@navaramap/three-default-plugin";import { TileJsonPlugin } from "@navaramap/three-plugins";
const plugin = new DefaultPlugin();const view = new ThreeView<DefaultDescriptions>({});view.addPlugin(plugin);
const tilejson = new TileJsonPlugin();view.addPlugin(tilejson);
await view.init();
view.addLight({ ambient: {},});
const basemapSource = await tilejson.addSource({ type: "raster-tile", url: "https://papers.reearth.land/styles/protomaps-light/tilejson.json",});view.addLayer({ type: "raster", source: basemapSource,});
view.setCamera({ lng: 139.7671, lat: 35.6812, height: 1000, heading: 0, // -180 to 180 pitch: -30, // -180 to 0 roll: 0, // -180 to 180});地形を表示する
Section titled “地形を表示する”地形レイヤーを追加する
Section titled “地形レイヤーを追加する”地形には quantized-mesh ソースを使います。メッシュ化済みのタイルなので標高のデコードが不要で、頂点法線をリクエストすればメッシュが直接ライティングされるため、別途 hillshade レイヤーを重ねる必要もありません。
ラスタタイルレイヤーの前に地形レイヤーを追加してください(レイヤーは追加順に描画されます):
const terrainSource = view.addSource({ type: "quantized-mesh", url: "https://terrain.reearth.land/cesium-mesh/ellipsoid/{z}/{x}/{y}.terrain", requestVertexNormals: true, maxZoom: 18,});view.addLayer({ type: "terrain", source: terrainSource, terrain: { castShadow: true, receiveShadow: true, },});データは Re:Earth Terrain が配信する全球の quantized-mesh です。
requestVertexNormalsは法線をサーバーに要求します。次のステップで追加するsunライトが、この法線を使って斜面に陰影をつけます。maxZoomなどの取得設定はソースに、terrainにはメッシュの描画設定(影・スカート)だけを書きます。
詳細については、Terrain Layer を参照してください。
Ambient ライトを Sun ライトに置き換える
Section titled “Ambient ライトを Sun ライトに置き換える”環境光はすべての面を均一に照らすため、環境光だけでは地形の起伏が見えません。view.addLight({ ambient: {} }) の呼び出しを sun ライトに置き換えます。sun ライトは、先ほど要求した法線を使って斜面に陰影をつけます。
view.addLight({ sun: {},});view.atmosphere.date = new Date("2026-07-16T01:00:00Z");太陽の方向は view.atmosphere.date から導出されます。どのマシンでも同じ見た目になるよう、UTC 文字列("...Z")で指定してください。詳細については、SunLightDesc を参照してください。
太陽は、地形レイヤーに設定した castShadow / receiveShadow オプションを通じて地形に影も落とします。シャドウマッピングはビューの構築時に有効化する必要があるため(shadow は初期化時にのみ設定できるオプションです)、ThreeView のコンストラクタ呼び出しを変更します。
const view = new ThreeView<DefaultDescriptions>({ shadow: true });カメラを山岳地帯に移動する
Section titled “カメラを山岳地帯に移動する”起伏が際立つ富士山にカメラを移動します。view.setCamera() の呼び出しを変更します。
view.setCamera({ lng: 138.75, lat: 35.5, height: 6000, heading: 185, // -180 to 180 pitch: -26, // -180 to 0 roll: 0, // -180 to 180});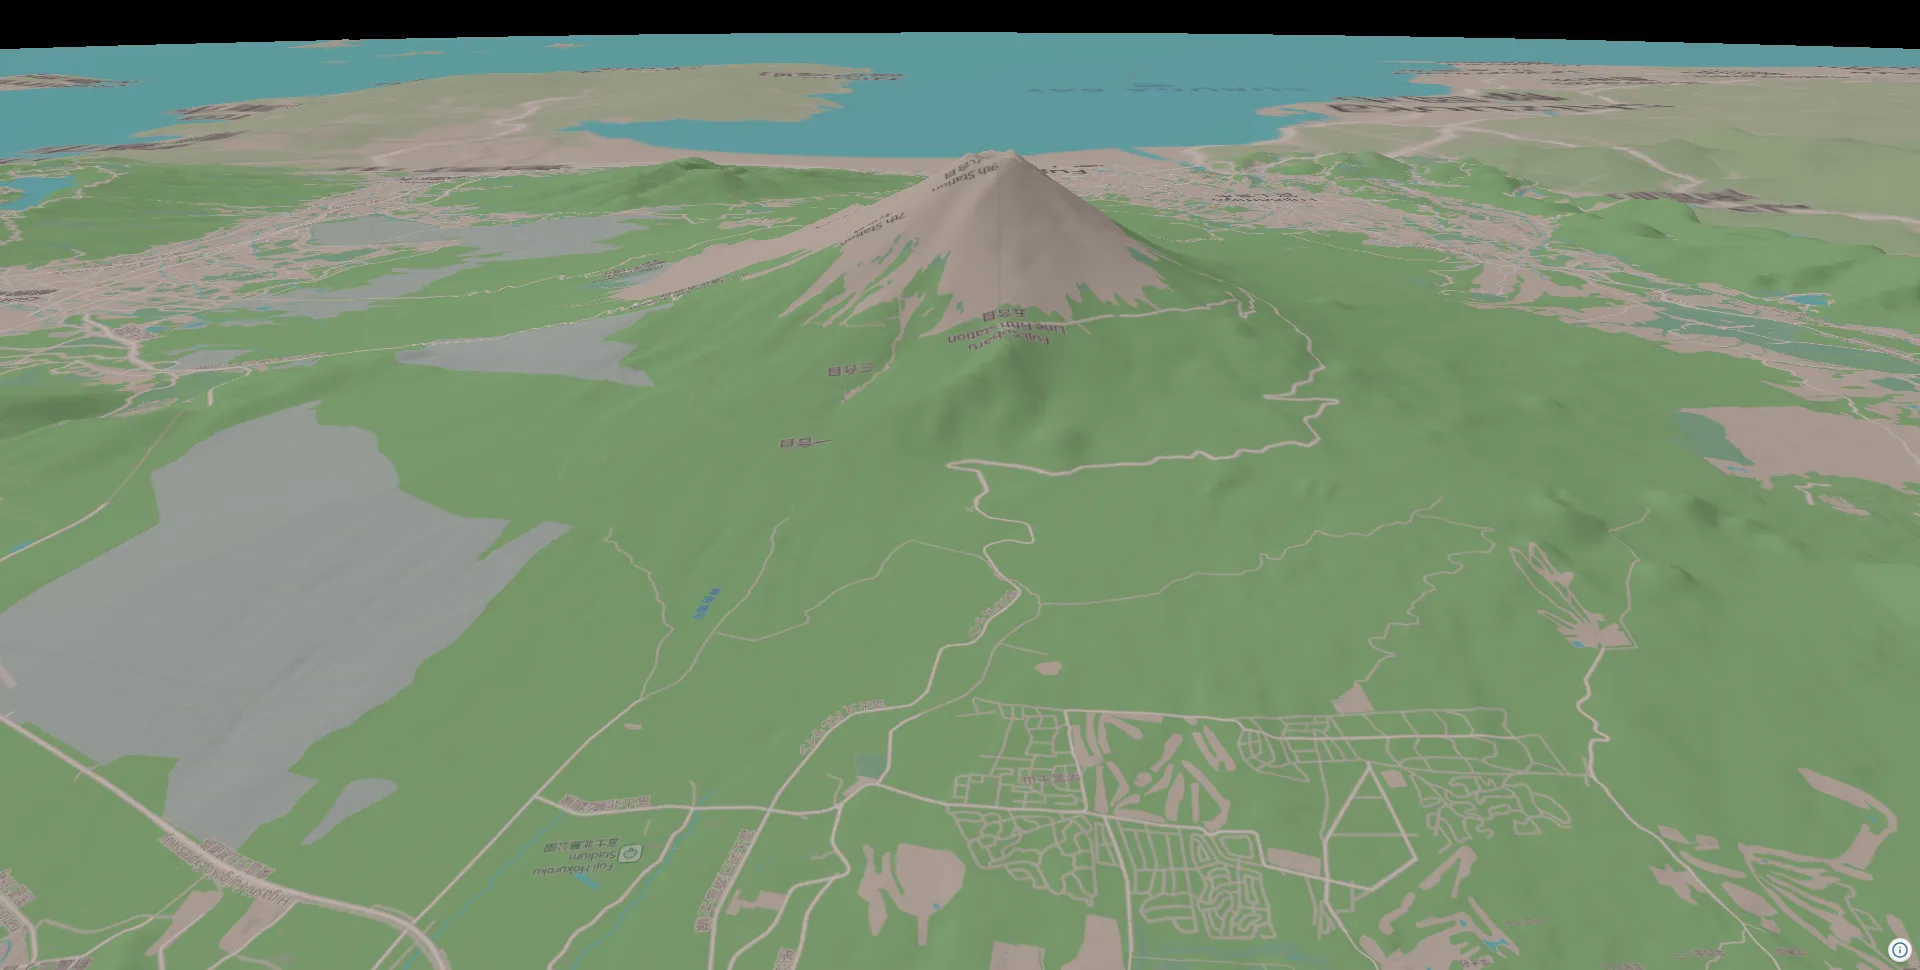
完全なコード
Section titled “完全なコード”import ThreeView from "@navaramap/three";import { DefaultPlugin, type DefaultDescriptions } from "@navaramap/three-default-plugin";import { TileJsonPlugin } from "@navaramap/three-plugins";
const plugin = new DefaultPlugin();const view = new ThreeView<DefaultDescriptions>({ shadow: true });view.addPlugin(plugin);
const tilejson = new TileJsonPlugin();view.addPlugin(tilejson);
await view.init();
view.addLight({ sun: {},});view.atmosphere.date = new Date("2026-07-16T01:00:00Z");
const terrainSource = view.addSource({ type: "quantized-mesh", url: "https://terrain.reearth.land/cesium-mesh/ellipsoid/{z}/{x}/{y}.terrain", requestVertexNormals: true, maxZoom: 18,});view.addLayer({ type: "terrain", source: terrainSource, terrain: { castShadow: true, receiveShadow: true, },});
const basemapSource = await tilejson.addSource({ type: "raster-tile", url: "https://papers.reearth.land/styles/protomaps-light/tilejson.json",});view.addLayer({ type: "raster", source: basemapSource,});
view.setCamera({ lng: 138.75, lat: 35.5, height: 6000, heading: 185, // -180 to 180 pitch: -26, // -180 to 0 roll: 0, // -180 to 180});GeoJSON データを表示する
Section titled “GeoJSON データを表示する”GeoJSON レイヤーを追加する
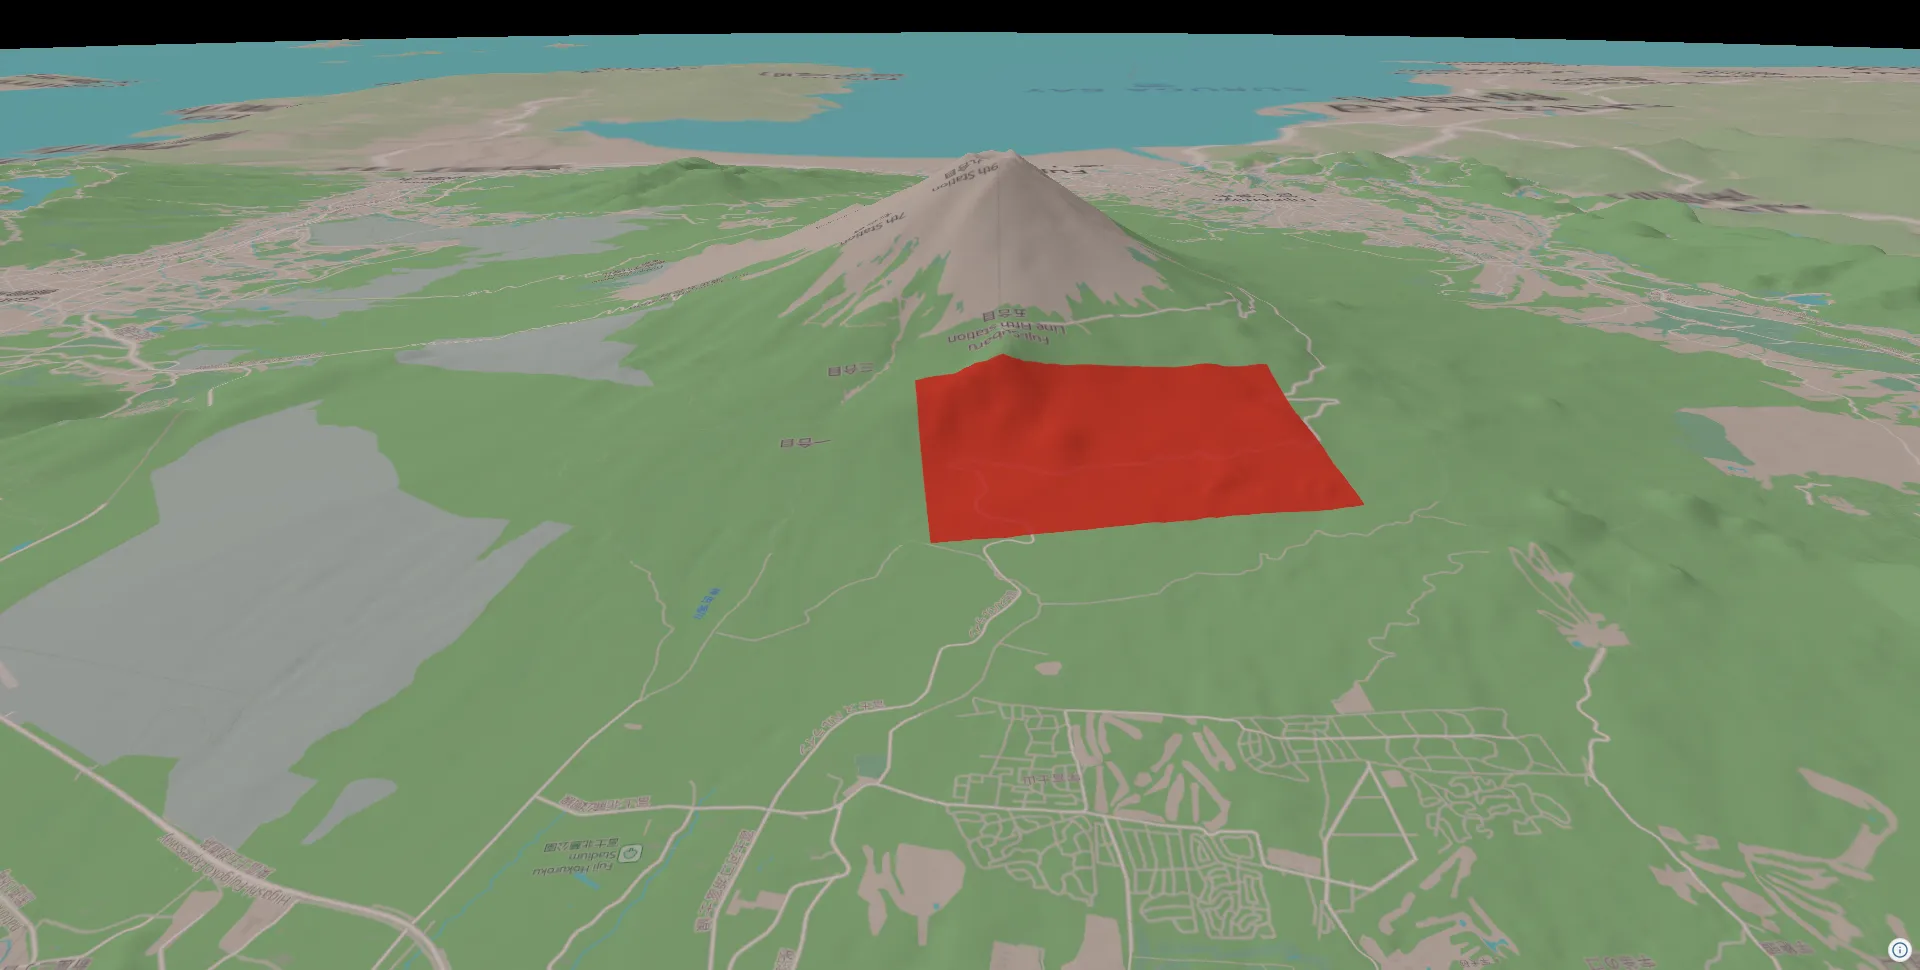
Section titled “GeoJSON レイヤーを追加する”カメラが向いている富士山の北側斜面を覆うポリゴンを追加します。
const geojsonSource = view.addSource({ type: "geojson", data: { type: "Feature", properties: { name: "Area" }, geometry: { type: "Polygon", coordinates: [ [ [138.7, 35.425], [138.7, 35.4], [138.745, 35.4], [138.745, 35.425], [138.7, 35.425], ], ], }, },});view.addLayer({ type: "vector", source: geojsonSource, polygon: { color: new Color().setHex(0xff3b30), opacity: 0.75, transparent: true, },});view.addSource({ type: "geojson", ... }) で GeoJSON を Source として登録し、view.addLayer({ type: "vector", source, ... }) で描画します。スタイル(色・透明度)は polygon Material が担います。clampToGround: true を指定するとポリゴンが地形の表面にドレープされ、固定の高さで山に埋もれることなく斜面に沿って表示されます。詳細については、Vector Layer を参照してください。
富士山の斜面に、地形に沿ったポリゴンが表示されます。
完全なコード
Section titled “完全なコード”import ThreeView, { Color } from "@navaramap/three";import { DefaultPlugin, type DefaultDescriptions } from "@navaramap/three-default-plugin";import { TileJsonPlugin } from "@navaramap/three-plugins";
const plugin = new DefaultPlugin();const view = new ThreeView<DefaultDescriptions>({ shadow: true });view.addPlugin(plugin);
const tilejson = new TileJsonPlugin();view.addPlugin(tilejson);
await view.init();
view.addLight({ sun: {},});view.atmosphere.date = new Date("2026-07-16T01:00:00Z");
const terrainSource = view.addSource({ type: "quantized-mesh", url: "https://terrain.reearth.land/cesium-mesh/ellipsoid/{z}/{x}/{y}.terrain", requestVertexNormals: true, maxZoom: 18,});view.addLayer({ type: "terrain", source: terrainSource, terrain: { castShadow: true, receiveShadow: true, },});
const basemapSource = await tilejson.addSource({ type: "raster-tile", url: "https://papers.reearth.land/styles/protomaps-light/tilejson.json",});view.addLayer({ type: "raster", source: basemapSource,});
const geojsonSource = view.addSource({ type: "geojson", data: { type: "Feature", properties: { name: "Area" }, geometry: { type: "Polygon", coordinates: [ [ [138.7, 35.425], [138.7, 35.4], [138.745, 35.4], [138.745, 35.425], [138.7, 35.425], ], ], }, },});view.addLayer({ type: "vector", source: geojsonSource, polygon: { color: new Color().setHex(0xff3b30), opacity: 0.75, transparent: true, },});
view.setCamera({ lng: 138.75, lat: 35.5, height: 6000, heading: 185, // -180 to 180 pitch: -26, // -180 to 0 roll: 0, // -180 to 180});